
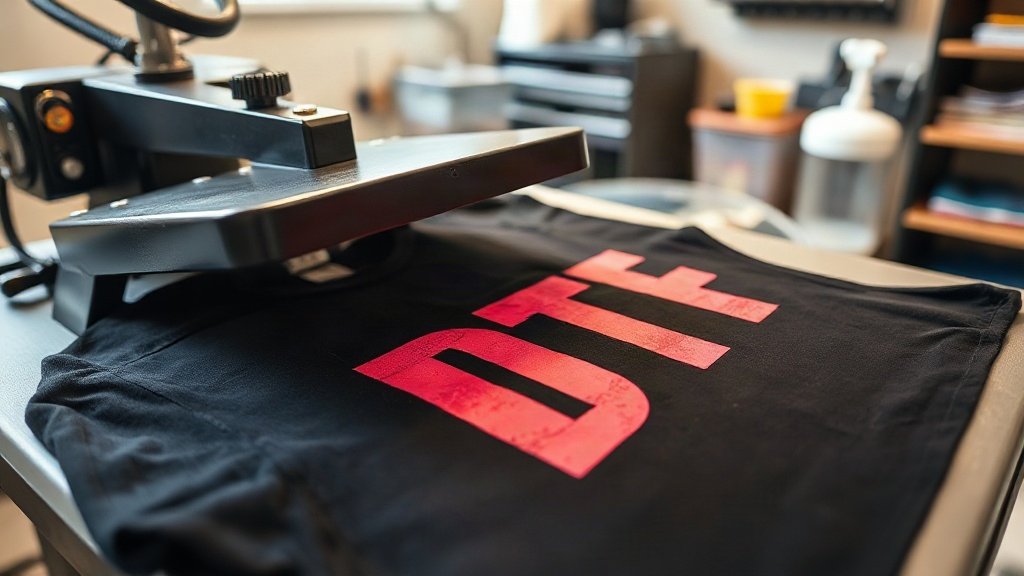
If you've been exploring custom apparel printing, you've likely encountered DTF Transfers. This innovative technology is quickly becoming a favorite among hobbyists and professionals alike, offering vibrant colors and impressive durability. In this guide, we'll walk you through everything you need to know about DTF transfers, from the basics to advanced tips, so you can achieve flawless results every time.
What Are DTF Transfers?
DTF stands for Direct to Film. It's a printing method where your design is printed onto a special film, coated with a adhesive powder, and then heat-pressed onto fabric. Unlike DTG (Direct to Garment) or screen printing, DTF transfers work on a wide range of materials, including cotton, polyester, blends, and even treated leather. The process involves printing with special inks onto a PET film, applying a thermoplastic powder, and curing it. When you're ready to apply, you simply place the transfer on your garment and press.
Why Choose DTF Transfers?
There are several compelling reasons why DTF transfers have gained popularity:
- Versatility: Works on almost any fabric, including dark and light colors, without needing pre-treatment.
- Durability: The prints are stretchable and resistant to cracking, peeling, and fading.
- Vibrant Colors: DTF can produce highly detailed, full-color designs with gradients and fine lines.
- Cost-Effective: No need for minimum orders or expensive setup; perfect for small businesses and personal use.
- Ease of Use: With a heat press, application is straightforward and quick.
How to Apply DTF Transfers: Step-by-Step
Applying DTF transfers is a straightforward process, but following the right steps ensures a professional finish.
Step 1: Prepare Your Workspace
Set up your heat press on a sturdy surface. Ensure it's clean and free of debris. Preheat your press to the recommended temperature, typically around 300°F to 325°F (150°C to 160°C).
Step 2: Position the Transfer
Place your garment on the press and smooth out any wrinkles. Position the DTF transfer with the printed side facing up. If your design has a specific orientation, make sure it's aligned correctly.
Step 3: Press the Transfer
Cover the transfer with a protective sheet (like parchment paper or a Teflon sheet). Apply medium to firm pressure for 10-15 seconds. The exact time may vary depending on your press and film, so always test first.
Step 4: Peel the Film
After pressing, allow the transfer to cool completely. Then, slowly peel away the film. If the design lifts, press again for a few more seconds. For a matte finish, you can do a second press with a cover sheet for 5 seconds.
Step 5: Post-Press Care
For best results, wait 24 hours before washing. Turn the garment inside out and wash in cold water. Avoid fabric softeners and bleach. Tumble dry low or hang dry.
Common Mistakes to Avoid
Even with a simple process, some pitfalls can ruin your transfer. Here are common mistakes and how to avoid them:
- Insufficient Pressure: Without enough pressure, the transfer won't adhere properly. Adjust your press accordingly.
- Wrong Temperature: Too hot and the film may melt; too cold and the adhesive won't activate. Always follow the film manufacturer's guidelines.
- Peeling Too Early: Peeling while hot can cause the design to stretch or lift. Wait until it's cool.
- Not Pre-Pressing: Pre-pressing the garment removes moisture and wrinkles, ensuring a smooth application.
DTF vs. Other Printing Methods
How does DTF stack up against DTG, screen printing, and vinyl? Each has its strengths, but DTF shines in versatility and cost for small batches. Unlike DTG, DTF doesn't require pre-treatment and works on dark colors. Compared to screen printing, DTF has no setup fees and is ideal for detailed designs. Vinyl is limited in color and complexity, while DTF can handle full-color images.
Tips for Perfect DTF Transfers
To elevate your DTF game, consider these expert tips:
- Use Quality Film and Powder: Cheaper materials can lead to poor adhesion and dull colors.
- Store Transfers Properly: Keep them in a cool, dry place away from direct sunlight.
- Test Before Bulk Production: Always do a test press on a scrap fabric to dial in settings.
- Invest in a Good Heat Press: A reliable press with even pressure and accurate temperature control is crucial.
Frequently Asked Questions
What fabrics can I use with DTF transfers?
DTF transfers work on a wide range of fabrics, including cotton, polyester, cotton-poly blends, nylon, and even leather. They are particularly effective on dark materials where other methods struggle.
How long do DTF transfers last?
With proper application and care, DTF transfers can last as long as the garment itself. They are resistant to cracking and fading, but following washing instructions is key to longevity.
Can I stretch DTF transfers?
Yes, DTF transfers are flexible and can stretch with the fabric without cracking, making them ideal for activewear and stretchy materials.
Do I need a special printer for DTF?
Yes, you need a DTF printer that uses special DTF inks and film. However, you can also buy pre-made DTF transfers from suppliers if you don't want to invest in a printer.
Is DTF better than DTG?
It depends on your needs. DTF is more versatile across fabrics and doesn't require pre-treatment, while DTG is better for 100% cotton and has a softer feel. DTF often produces more vibrant colors on dark shirts.