
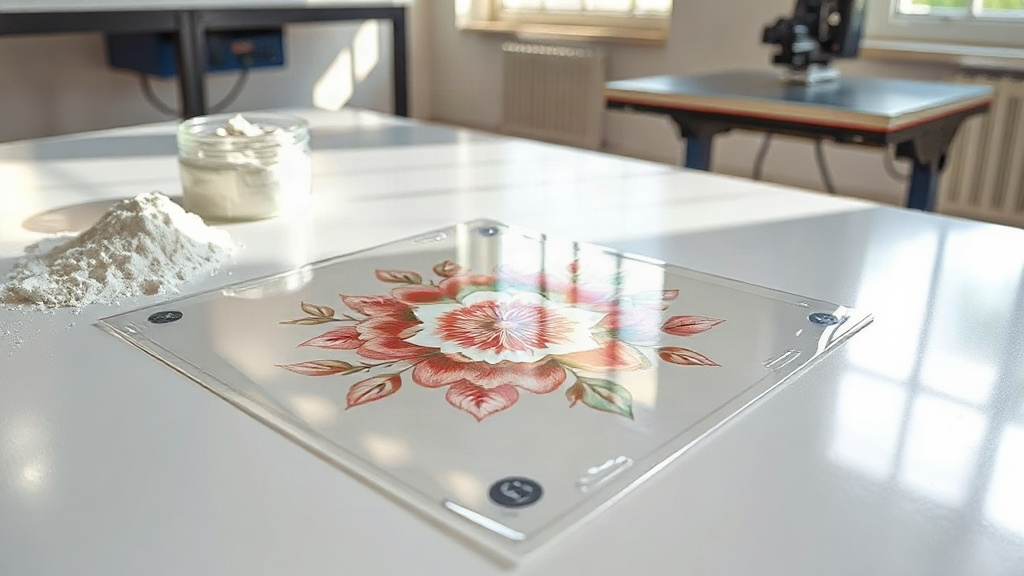
When you first explore DTF printing, the array of film options can feel overwhelming. Unlike traditional heat transfer vinyl, DTF (Direct to Film) uses a specialized film that receives a printed design, which is then coated with adhesive powder and cured before pressing onto fabric. The film you choose directly affects print quality, durability, and ease of use. This guide breaks down the key film types, their characteristics, and how to match them to your projects, so you can achieve professional-looking results without the guesswork.
What Makes DTF Printing Different?
DTF printing stands apart because it doesn't require pre-treatment of the fabric or special weeding tools. The process involves printing your design onto a PET film using specialized inks, applying a thermoplastic powder while the ink is still wet, and then curing the powder to create a flexible, stretchable adhesive layer. When you heat press the transfer, the adhesive bonds to the fabric fibers, while the ink sits on top, delivering vivid colors and fine details. This method works on a wide range of materials, including cotton, polyester, blends, and even nylon, making it a versatile choice for custom apparel.
The Two Main Film Types: Hot Peel vs. Cold Peel
Film types are typically categorized by how they release from the transfer after pressing. The two primary options are hot peel and cold peel. Each has distinct advantages and is suited to different workflows.
Hot Peel Film
Hot peel film allows you to remove the carrier sheet immediately after pressing while the transfer is still hot. This speeds up production, as you can stack items without waiting for them to cool. Hot peel films often provide a slightly glossier finish and are great for designs with fine lines or small text, as the immediate peel can help preserve detail. However, you need to peel confidently and quickly to avoid disturbing the print. If you're producing large batches, hot peel can significantly cut down your turnaround time.
Cold Peel Film
Cold peel film requires you to wait until the transfer has cooled completely before removing the carrier sheet. This waiting period allows the adhesive to set fully, resulting in a matte finish and a softer hand feel. Cold peel is more forgiving for beginners because you can take your time peeling without risking the design. It's also ideal for thick, heavy designs where a slower cooling process ensures better adhesion. The trade-off is longer production time, but many professionals prefer cold peel for its reliable, consistent results.
Thickness and Its Impact on Your Prints
Film thickness is measured in microns, and it plays a crucial role in how the final transfer feels and performs. Thinner films (around 75-100 microns) are excellent for detailed, intricate designs because they conform better to textured fabrics and produce a softer, more flexible print. They're ideal for lightweight garments like t-shirts and activewear. Thicker films (100-150 microns) offer greater durability and opacity, making them suitable for bold, solid-color designs on dark fabrics or for items that will undergo heavy wear, such as workwear or sports jerseys. Choosing the right thickness means balancing detail, comfort, and longevity.
Matte vs. Glossy Finishes
Beyond peel type and thickness, films come in matte and glossy finishes. Glossy films tend to produce more vibrant, punchy colors with a slight sheen, which can make designs pop on dark backgrounds. Matte films offer a subdued, fabric-like appearance that blends seamlessly with the garment, giving a more premium, retail-ready look. Your choice depends on the aesthetic you want. For a vintage or soft feel, matte is often preferred; for eye-catching, high-contrast graphics, glossy may be the way to go. Some films are also available in a satin finish, offering a middle ground.
How to Choose the Right DTF Film for Your Project
Selecting the ideal film involves assessing your design, fabric, and production setup. Consider these factors:
- Design complexity: Fine details and gradients benefit from thin, hot peel films that hold intricate patterns.
- Fabric type: For stretchy fabrics, choose a film with high elasticity to prevent cracking. For rough textures like canvas, a thicker film with strong adhesive works best.
- Production volume: If speed is critical, hot peel film can streamline your process. For one-off custom pieces, cold peel offers more control.
- Desired finish: Match the film's finish to the garment's style. Matte for a soft, integrated look; glossy for vibrant, standout designs.
- Ink compatibility: Ensure your film is compatible with your printer's ink type (usually pigment or dye-based). Always test before full production.
Application Tips for Perfect Results
Even with the right film, technique matters. Here are some practical tips to get clean, durable transfers:
- Control moisture: Store film in a dry environment. Moisture can cause the powder to clump and lead to poor adhesion.
- Dial in your press settings: Temperature, pressure, and time vary by film and fabric. Start with manufacturer recommendations and adjust. A common range is 300-325°F (150-160°C) for 10-15 seconds with medium pressure.
- Apply powder evenly: Shake powder over the wet print generously, then shake off excess. Too little powder means weak adhesion; too much creates a rough texture.
- Cure properly: Follow the film's curing guidelines, usually around 320°F (160°C) for 2-3 minutes in an oven or until the powder gels. Undercuring leads to washing off; overcuring can make the transfer brittle.
- Press with confidence: Use a heat press, not an iron, for consistent pressure. For cold peel, wait until the transfer is completely cool before peeling. For hot peel, peel immediately in one smooth motion.
Common DTF Film Mistakes to Avoid
New users often run into a few pitfalls. Using too much powder creates a stiff, plastic-like feel. Skipping the curing step or undercuring causes the design to peel after washing. Pressing at too high a temperature can scorch the film or fabric. Also, reusing carrier sheets is not recommended, as they lose their release properties. By paying attention to these details, you'll save time and materials.
Frequently Asked Questions
Can I use DTF film on any fabric?
DTF transfers adhere well to cotton, polyester, blends, and even nylon. However, fabrics with heavy coatings or waterproof treatments may require special low-temperature films or additional adhesion promoters. Always test on a swatch first.
How do I store DTF film to keep it usable?
Keep film in its original packaging or an airtight container, away from direct sunlight, heat, and moisture. Ideal conditions are a cool, dry place with temperatures between 50-80°F (10-27°C) and low humidity. Properly stored film can last up to a year.
What's the difference between DTF and DTG printing?
DTF involves printing onto a film and then transferring to fabric, while DTG (Direct to Garment) prints directly onto the garment. DTF works on more fabric types and doesn't require pre-treatment, but DTG can be more efficient for 100% cotton items with a softer feel.
How durable are DTF transfers after washing?
When applied correctly, DTF transfers can withstand 50+ washes without significant fading or cracking. Turn the garment inside out, use cold water, and avoid harsh detergents or bleach to maximize longevity. Tumble dry low or hang dry.
Do I need a special printer for DTF?
You can convert a standard inkjet printer to use DTF inks and film, but dedicated DTF printers offer better consistency and are designed for the process. If you're just starting, a conversion kit can be a cost-effective entry point, but ensure you use compatible inks and film.