
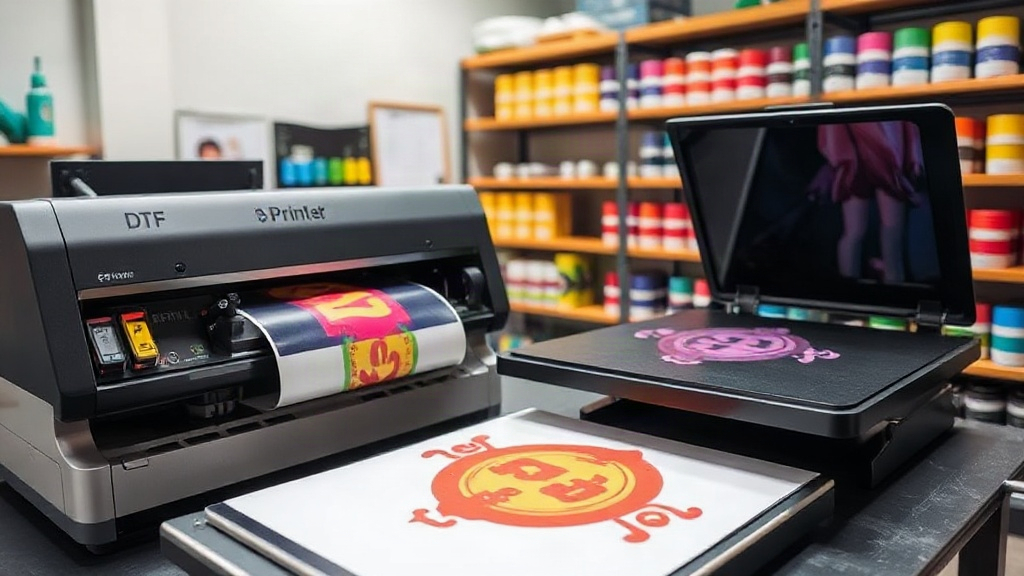
Imagine pressing a button and watching a full-color design transfer onto a t-shirt in minutes, with details so sharp they look painted on. That's the magic of DTF printing, a digital transfer method that's taking the custom apparel world by storm. Whether you're a hobbyist crafter or a small business owner, DTF printing offers a versatile, cost-effective way to produce vibrant, durable designs on a wide range of fabrics. In this guide, we'll walk you through everything you need to know to get started.
What Exactly Is DTF Printing?
DTF stands for Direct to Film. It's a printing process where your design is printed onto a special film using a DTF printer, then coated with a hot-melt adhesive powder. Once the powder is cured, the transfer is ready to be applied to fabric using a heat press. Unlike DTG (Direct to Garment) printing, which requires pretreating and works best on cotton, DTF printing can adhere to almost any fabric: cotton, polyester, blends, even leather and nylon. This flexibility makes it a game-changer for custom apparel.
How Does the DTF Process Work?
The DTF workflow involves several key steps:
- Design Preparation: Create your artwork in a graphics program, ensuring it's mirrored (unless your printer software does it automatically).
- Printing: Load the DTF film into your printer and print the design using DTF inks, typically CMYK plus white.
- Powdering: While the ink is still wet, apply DTF powder (hot-melt adhesive) evenly over the print. Shake off excess.
- Curing: Place the film in a curing oven or under a heat press to melt the powder. This creates a flexible, durable layer.
- Transfer: Once cooled, the transfer is ready. You can store it or immediately press it onto your garment.
Each step requires attention to detail, but with practice, you'll master the rhythm.
Why Choose DTF Printing?
DTF printing has several advantages that make it a top choice for custom apparel:
- Fabric Versatility: Works on cotton, polyester, blends, and even treated nylon and leather. No need for different inks or pretreatments.
- Vibrant Colors: DTF inks produce bright, opaque colors, and the white underbase allows for printing on dark garments without losing detail.
- Durability: When applied correctly, DTF transfers withstand repeated washing without cracking or fading.
- Cost-Effective for Small Batches: No screens or plates needed, so short runs are economical.
- Soft Hand Feel: The transfer is thin and flexible, giving a comfortable wear.
Getting Started with DTF Printing
Ready to dive in? Here's what you'll need:
Essential Equipment
- DTF Printer: A dedicated printer that uses DTF inks. Popular models include those from Epson converted for DTF use, or purpose-built machines.
- DTF Film: Available in rolls or sheets. Choose a film compatible with your printer and powder.
- DTF Powder: The adhesive that makes the transfer stick. There are different types for different fabrics.
- Heat Press: For transferring the design onto the garment. A press with even pressure and temperature control is crucial.
- Curing Oven or Heat Press: To melt the powder. Some use a dedicated oven, others use a heat press.
- Design Software: Any vector or raster program like Adobe Illustrator, Photoshop, or free alternatives like Inkscape or GIMP.
You'll also need a well-ventilated workspace and protective gear like gloves and a mask when handling powder.
Step-by-Step DTF Printing Tutorial
Let's walk through a basic DTF print:
- Create Your Design: Open your software and design your artwork. Remember to mirror the image if your printer doesn't do it automatically. For best results, use high-resolution images (300 DPI).
- Print on Film: Load the DTF film into your printer. Ensure the printer is set to the correct ink configuration (usually CMYK+White). Print your design.
- Apply Powder: While the ink is wet, sprinkle DTF powder over the printed area. Use a scoop or shaker for even coverage. Gently shake off excess powder back into the container.
- Cure the Powder: Place the film in a curing oven at around 160°C (320°F) for 2-3 minutes, or use a heat press at 160°C for 30-40 seconds. The powder should melt and become shiny.
- Cool and Store: Allow the transfer to cool completely. You can now store it in a dry place or proceed to pressing.
- Press onto Garment: Preheat your heat press to 160°C (320°F). Place the garment on the press, position the transfer (powder side down), and press for 15-20 seconds with medium pressure. Peel the film off while hot or cold, depending on the film type (check instructions).
And there you have it: a custom garment with a vibrant, durable design!
Common DTF Printing Challenges and Solutions
Even with the best equipment, you might encounter issues. Here are some common problems and how to fix them:
- Faded or Cracked Transfers: Usually due to insufficient powder or improper curing. Ensure even powder coverage and correct curing temperature/time.
- Powder Not Sticking: Might be because the ink was too dry before powdering. Work quickly after printing.
- Transfer Peeling Off: Could be due to inadequate pressure or temperature during pressing. Adjust your heat press settings.
- Clogged Printhead: Regular maintenance and daily printing keep DTF inks flowing. Use cleaning solutions and follow printer guidelines.
DTF vs. Other Printing Methods
How does DTF stack up against DTG, screen printing, and vinyl?
- DTG: Best for 100% cotton, but requires pretreatment and can be less vibrant on dark colors. DTF works on more fabrics and often has better color payoff.
- Screen Printing: Cost-effective for large orders but setup is time-consuming and expensive for small runs. DTF excels in short runs and complex designs.
- Vinyl: Great for simple designs but limited in color and detail. DTF can handle full-color, photographic images.
Tips for Success with DTF Printing
To get the best results, keep these tips in mind:
- Test Your Settings: Every printer, powder, and film combo behaves differently. Do test prints to dial in temperature, pressure, and time.
- Keep It Clean: Dust and debris can ruin transfers. Maintain a clean workspace.
- Store Properly: Keep unused film and powder in a cool, dry place. Cured transfers can be stored in a dark, dry environment for months.
- Invest in Quality Supplies: Cheaper inks and powders may cost less upfront but can lead to poor results and frustration.
- Join Communities: Online forums and social media groups are invaluable for troubleshooting and inspiration.
Frequently Asked Questions About DTF Printing
How long do DTF transfers last?
When applied correctly, DTF transfers can last as long as the garment itself, often 50+ washes without significant fading or cracking. Proper washing (inside out, cold water, no bleach) extends their life.
Can I use DTF on any fabric?
Yes, DTF works on cotton, polyester, blends, nylon, leather, and more. However, some fabrics like highly elastic ones may require special stretchable powder for best results.
Do I need a special printer for DTF?
You can convert an Epson printer to use DTF inks, but dedicated DTF printers are also available. They come with the necessary ink systems and software.
Is DTF printing cost-effective for small businesses?
Absolutely. With no minimum order and low setup costs, DTF is ideal for small businesses, crafters, and anyone doing short runs or personalized items.
What is the difference between DTF and DTG?
DTF transfers a printed film onto the fabric, while DTG prints directly onto the garment. DTF works on more fabrics and often produces more vibrant colors on dark materials.
With its versatility, vibrant results, and growing community, DTF printing is a fantastic addition to any custom apparel toolkit. Whether you're printing for fun or profit, the possibilities are endless. So fire up your printer, grab some film, and start creating today!