
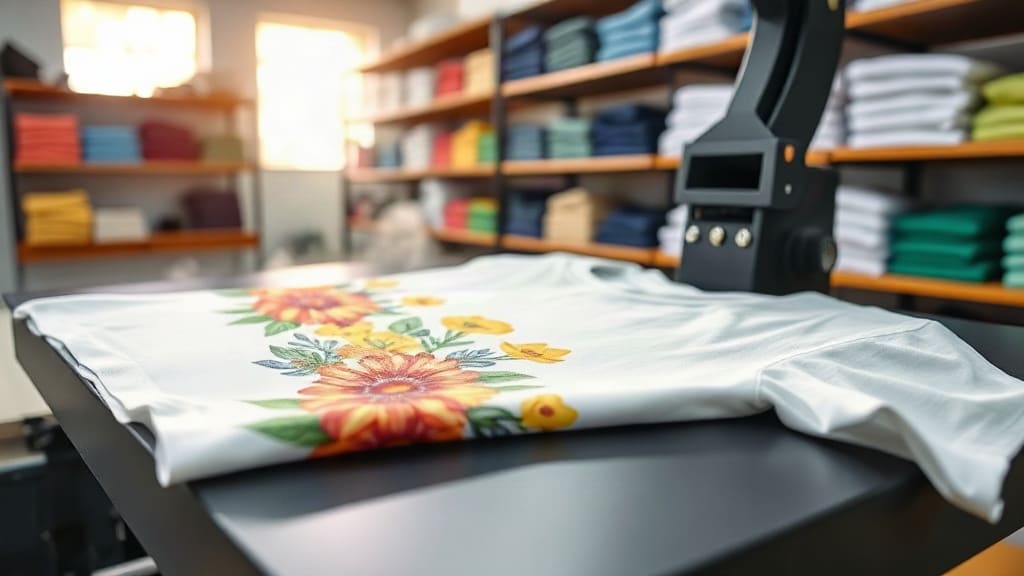
If you're in the custom apparel business or just starting, you've likely heard about DTF transfers. This printing method has taken the industry by storm, offering vibrant colors, easy application, and durability that rivals traditional methods. But what exactly is DTF, and why should you care? In this comprehensive guide, we'll break down everything you need to know about DTF transfers, from the printing process to tips for achieving the best results. Whether you're a hobbyist or a professional printer, this guide will help you make informed decisions and elevate your custom apparel game.
What Are DTF Transfers?
DTF transfers (Direct to Film) is a printing technique where a design is printed onto a special PET film using a DTF printer, then transferred onto fabric using a heat press. Unlike direct-to-garment (DTG) printing that prints directly onto shirts, DTF prints onto a film first, allowing you to transfer the image onto various materials, including cotton, polyester, blends, and even hard surfaces like tote bags or hats.
The process involves printing with specialized DTF inks, applying a powder adhesive to the wet ink, and then curing the powder. Once cured, the film is placed on the garment, and heat and pressure transfer the design. The result is a soft, durable print that doesn't crack easily.
How Do DTF Transfers Work?
To understand why DTF transfers are so popular, let's walk through the step-by-step process:
- Design Preparation: You create your design using graphic software, ensuring it's in the correct resolution and color mode (usually CMYK).
- Printing: A DTF printer prints the design onto a transparent PET film using white, cyan, magenta, yellow, and black inks. The white ink is crucial for printing on dark garments.
- Powder Application: While the ink is still wet, you apply a hot-melt adhesive powder over the printed area. This powder sticks to the ink.
- Curing: The film is passed through a curing oven or heat press to melt the powder, creating a bond.
- Transfer: You place the film on the garment with the design facing down, apply heat and pressure for a specific time, and then peel off the film.
This process seems straightforward, but each step requires precision. The type of powder, temperature, and pressure can significantly affect the outcome.
Benefits of Using DTF Transfers
Why are so many businesses switching to DTF transfers? Here are some key advantages:
- Versatility: DTF works on a wide range of fabrics, including difficult ones like polyester and nylon, without pre-treatment.
- Vibrant Colors: The white ink layer ensures bright colors even on dark shirts, and the color reproduction is excellent.
- Soft Hand Feel: The prints are smooth and don't have the heavy plastisol feel of screen printing.
- Durability: DTF prints can withstand multiple washes, stretching, and even bleaching (if done correctly).
- No Weeding: Unlike vinyl, there's no need to weed intricate designs; the entire printed area is transferred.
- Cost-Effective for Small Runs: There's no setup cost, making it affordable for one-off prints or small orders.
DTF Transfers vs. Other Printing Methods
To decide if DTF is right for you, it's helpful to compare it with other popular methods like screen printing, DTG, and vinyl.
DTF vs. Screen Printing
Screen printing is ideal for large bulk orders because the unit cost decreases with quantity. However, it requires setup screens, which is expensive for low quantities. DTF transfers have no setup costs, making them perfect for small batches. Screen printing yields thick ink layers that can crack over time, while DTF prints are flexible and durable.
DTF vs. Direct-to-Garment (DTG)
DTG is great for detailed, full-color designs, but it requires pre-treatment on dark fabrics and works best on 100% cotton. DTF, on the other hand, adheres to a broader range of fabrics, including polyester, and doesn't require pre-treatment. DTG printers are also more expensive to maintain. DTF offers similar quality but with more flexibility.
DTF vs. Vinyl (Heat Transfer)
Vinyl is perfect for simple, one-color designs, but it can't handle gradients and detailed colors. Weeding can be tedious, and vinyl prints often have a plasticky feel. DTF handles full-color images easily and has a softer texture.
What Materials Can You Use with DTF Transfers?
One of the biggest selling points of DTF transfers is their compatibility with almost any fabric. Here are some materials that work well:
- 100% Cotton: The most common, DTF bonds perfectly.
- Cotton Blends: Works on any blend ratio.
- Polyester: Even performance wear, as long as the heat press temperature is adjusted.
- Nylon and Spandex: Perfect for activewear.
- Leather and Canvas: You can also transfer onto these for unique items.
- Hard Surfaces: With the right adhesive, you can even apply to mugs or wood, though this requires special techniques.
How to Apply DTF Transfers: A Step-by-Step Guide
Applying DTF transfers correctly is essential for a professional finish. Here's a guide:
- Preheat your heat press to around 320°F (160°C).
- Pre-press the garment for 3-5 seconds to remove moisture and wrinkles.
- Place the DTF transfer on the garment, with the film side up and the design facing down.
- Apply medium pressure for 10-15 seconds.
- Peel the film while it's still warm (hot peel) or after it cools (cold peel), depending on your specific transfer. Most recommend hot peel for easier removal.
- Press again with a protective sheet for 5 seconds to ensure adhesion.
Remember, different transfer manufacturers may have specific instructions, so always test first.
Tips for Getting the Best Results with DTF Transfers
To ensure your DTF transfers look great, follow these expert tips:
- Use High-Quality Films: The film is the base; a cheap film can ruin your print.
- Choose the Right Powder: Fine powder for fine details, coarse for thicker layers.
- Shake the Powder Well: Ensure even coverage.
- Control the Temperature: Too hot can cause the adhesive to bubble; too low won't cure properly.
- Print in Reverse: Remember, the design on the film is mirrored when transferred.
- Test on Scrap Fabric: Always test before batch production.
Common Mistakes to Avoid with DTF Transfers
Even experienced printers make errors. Here are pitfalls to avoid:
- Skipping the Powder: Forgetting to apply adhesive powder results in a design that won't stick.
- Insufficient Curing: If the powder isn't fully melted, the transfer won't adhere properly.
- Too Much Pressure: This can cause the design to bleed or distort.
- Peeling Too Early: If you peel while the film is too hot, the design may lift off.
- Not Pre-Pressing: Moisture in the garment can cause air bubbles.
How to Get Started with DTF Transfers
Ready to dive into the world of DTF transfers? Here's what you need to start:
- DTF Printer: A specialized printer that supports DTF inks and has a white ink circulation system.
- PET Films: Buy quality films that are compatible with your printer.
- DTF Inks: Use inks formulated for DTF to ensure color vibrancy and adhesion.
- Adhesive Powder: Select the right grain size for your prints.
- Curing Oven or Heat Press: For curing the powder after printing.
- Heat Press: For the final transfer onto garments.
If you don't want to invest in equipment, you can also buy ready-made DTF transfers from suppliers. This is a great option for small businesses or individuals who want to add custom designs without the overhead.
Cost Analysis: Is DTF Transfers Worth It?
The initial investment for DTF equipment can be significant, but the per-print cost is relatively low. Let's break down the costs:
- Equipment: A DTF printer can cost anywhere from $2,000 to $10,000, depending on features and size. Add a powder shaker, curing oven, and heat press, and you're looking at $3,000 to $15,000 total.
- Consumables: Film, ink, and powder cost around $0.50 to $1.00 per print, depending on the design size.
- Labor: Time spent on printing and pressing.
For those who need only occasional prints, using a professional service might be more economical. However, for high-volume production, DTF can significantly reduce costs compared to screen printing for small orders.
Frequently Asked Questions (FAQ)
Can DTF transfers be used on any fabric?
Yes, DTF transfers are incredibly versatile and can be applied to cotton, polyester, blends, and even leather or canvas. Just adjust the heat press temperature accordingly to avoid damaging the fabric.
How long do DTF transfers last?
With proper application and care, DTF transfers can last as long as the garment itself. They withstand numerous washes without fading or cracking, making them a durable choice.
Do I need special equipment to apply DTF transfers?
Yes, you need a heat press for application. If you're producing your own transfers, you'll also need a DTF printer, powder shaker, and curing oven. However, you can buy pre-made transfers and just use a heat press.
Can I wash garments with DTF transfers?
Yes, but to extend the life, wash the garments inside out in cold water and avoid using bleach. Tumble drying on low is fine, but air drying is preferable.
What is the difference between DTF and DTG?
DTF prints onto a film and then transfers, while DTG prints directly onto the garment. DTF works on more fabric types and doesn't require pre-treatment, whereas DTG is limited to cotton and requires special treatment for dark colors.
Conclusion
DTF transfers have revolutionized the custom apparel industry, offering a flexible, affordable, and high-quality solution for both small and large scale printing. Whether you're a seasoned professional or a beginner, understanding how DTF works and how to use it effectively can open up new opportunities for your business. With its ability to work on a wide range of materials and produce vibrant, durable prints, DTF is a technique worth mastering. So, take the plunge, invest in the right tools, and start creating stunning custom apparel today.