
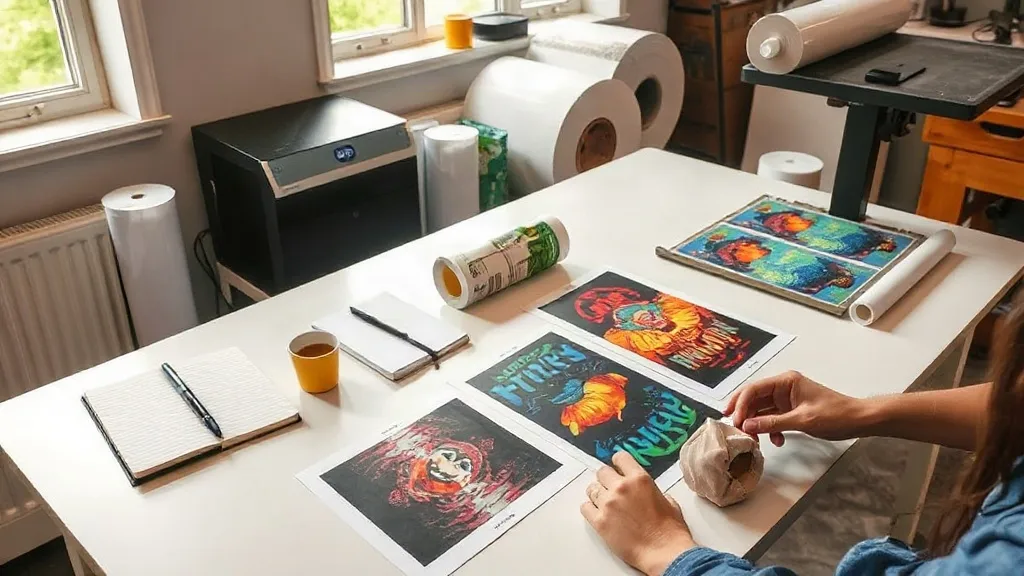
You just unboxed your DTF printer, or maybe you're still deciding which one to buy. Either way, the flood of advice online can feel overwhelming. Instead of chasing perfect settings from day one, what if you approached your first month as a structured learning period? This guide outlines a four-week plan that turns trial and error into deliberate practice. By the end, you'll have a repeatable process for producing dtf transfers that look professional and hold up to washing, without burning through rolls of film in frustration.
Week 1: Get to Know Your Materials and Machine
Before you press a single shirt, spend time understanding the components. DTF printing involves film, powder, ink, and a heat press. Each has its own quirks. Start by printing simple test patterns, like a gradient or a small logo, on different types of film if you have them. Note how the ink lays down and how the powder adheres. This isn't about achieving perfection yet; it's about observing how your specific equipment behaves.
Set Up a Logbook
Keep a notebook or spreadsheet where you record every test: date, film brand, powder type, ink settings, room temperature and humidity, and the result. This log becomes your reference when something goes wrong later. Many beginners skip this step and then can't remember what worked. A simple habit of jotting down details will save hours of guesswork.
Learn the Software Basics
Your RIP software controls ink limits, color profiles, and print modes. Spend an afternoon exploring its settings without printing. Understand what each slider does. Print a few small color patches to see how changes affect output. Don't worry about color accuracy yet; just get comfortable with the interface.
Week 2: Focus on the Print and Powder Stage
This week, you'll produce your first real dtf prints. Start with a design that has moderate detail and a mix of colors. Print it multiple times, varying one factor at a time: ink limit, powder application method, or curing temperature. The goal is to see how each variable influences the final transfer.
Master Powder Application
Too much powder leads to a thick, crusty feel; too little causes poor adhesion. Experiment with different application techniques: a scoop and shake, a powder shaker, or an automated powder applicator. Pay attention to how evenly the powder coats the wet ink. You'll quickly develop a feel for the right amount.
Understand Curing
Curing melts the powder into a flexible layer. If you undercure, the powder remains gritty and washes off. Overcuring makes the film brittle and can yellow the white ink. Use a infrared thermometer or your press's temperature readout to verify the actual temperature at the film surface. Adjust your curing time accordingly.
Week 3: Pressing and Peeling with Confidence
Now you have a stack of test transfers. Time to press them onto fabric. Gather a variety of blanks: 100% cotton, poly-cotton blends, and maybe a tri-blend. Press each transfer according to the recommended settings, but also try slight variations in temperature, pressure, and time. After pressing, evaluate adhesion, stretch, and feel.
Develop a Peel Test
Peeling too early or too late can ruin a transfer. Most DTF transfers are cold peel, but some films work better with a warm peel. Test both on a scrap piece. The peel should be smooth, with no ink left on the film. If you see resistance, adjust your cooling time.
Check Adhesion Immediately
After peeling, stretch the fabric gently. The print should move with the fabric without cracking or lifting. If it fails, note the conditions and try again with adjusted settings. This iterative process builds your intuition for what works.
Week 4: Wash Testing and Workflow Refinement
The true test of a DTF transfer is how it survives washing. Take your pressed samples and run them through a normal wash cycle (inside out, mild detergent, no bleach). Dry them and inspect for cracking, fading, or peeling. This step is crucial because it reveals weaknesses that aren't apparent right after pressing.
Analyze Failures
If a print fails, refer back to your logbook. Was the powder application uneven? Did you undercure? Was the fabric blend problematic? Use the data to adjust your process. Remember that some fabrics, like heavily textured or stretchy blends, require extra care.
Streamline Your Workflow
By now, you should have a basic workflow: design, print, powder, cure, press, peel, and wash test. Time yourself to see where bottlenecks occur. Maybe you can batch-print multiple transfers before powdering. Or set up a dedicated pressing station. Small efficiencies add up.
Beyond the First Month: Continuous Improvement
After 30 days, you'll have a solid foundation. But DTF printing is a craft that rewards ongoing learning. Consider joining online communities or forums where professionals share tips. If you're looking for a reliable supplier of dtf transfers near me, do your research and request samples. The quality of your blanks and consumables directly affects your results.
Frequently Asked Questions
How long should I wait before washing a DTF transfer?
Wait at least 24 hours after pressing before washing. This allows the adhesive to fully cure and bond with the fabric. For best results, follow the garment care instructions and wash inside out in cold water.
Can I use DTF transfers on 100% polyester?
Yes, DTF works well on polyester, but you may need to lower the press temperature slightly to avoid scorching or dye migration. Always test on a swatch first. Using a pressing pillow or protective sheet can help distribute heat evenly.
Why does my DTF transfer feel stiff after pressing?
Stiffness often comes from too much powder or excessive pressure during pressing. Try reducing the powder amount and ensure your press pressure is medium and even. Also, check that you're not over-pressing, which can flatten the ink layer.
What's the best way to store unused DTF transfers?
Store them in a cool, dry place away from direct sunlight. Keep them flat or roll them loosely with the printed side facing out to avoid sticking. Humidity can affect the powder, so consider using a dehumidifier in your storage area.
How do I choose the right DTF film?
Film choice depends on your printer and ink. Some films are designed for cold peel, others for hot peel. Start with the film recommended by your printer manufacturer, then experiment with other brands as you gain experience. Look for films that offer good ink absorption and release.