
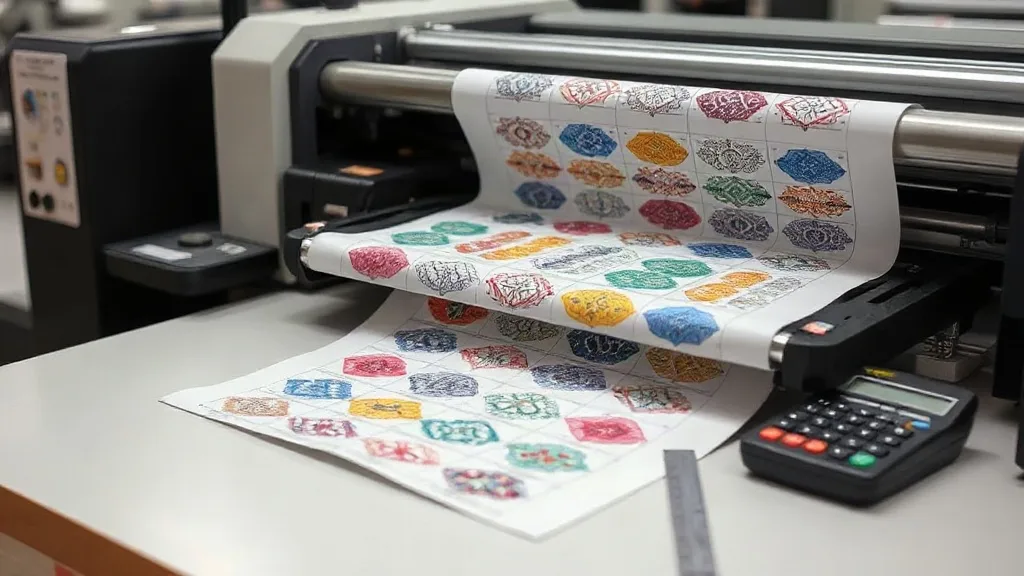
Every DTF printer knows the sting of peeling away a finished gangsheet and seeing a border of unused film. That wasted film is money evaporating with each print run. While most operators focus on ink costs or powder consumption, film utilization often flies under the radar. Yet it's one of the most direct levers you can pull to improve your bottom line. In this guide, we'll dive into practical strategies to squeeze every possible transfer out of your DTF Gangsheet film, without compromising quality or risking production headaches.
Why Film Utilization Deserves Your Attention
DTF film isn't cheap. Depending on the brand and roll size, you might be spending anywhere from $0.50 to $2.00 per square foot. If you're running multiple gangsheets daily, even a 10% improvement in utilization can translate to hundreds of dollars saved each month. But it's not just about the film itself: wasted film also means wasted ink and powder on areas that never become a sellable transfer. And let's not forget the environmental impact: less waste means a smaller footprint.
So how do you go from casually arranging designs to strategically maximizing every inch? It starts with a mindset shift and a few key techniques.
Mastering Nesting: The Core of High Utilization
Nesting is the art of arranging designs on your gangsheet to minimize empty space. It's not just about lining up rectangles; it's about understanding the shape of each design and finding complementary partners. Here's how to do it right.
1. Rotate and Flip Designs
Don't assume all designs must stay upright. Rotating a design 90 degrees can sometimes allow it to fit into a narrow gap. Similarly, flipping a design horizontally might let two irregular shapes interlock like puzzle pieces. Of course, you can't flip text or logos that have a clear orientation, but for many graphics, it's fair game.
2. Group Similar Sizes
If you have multiple orders with the same design but different sizes, group them together. This creates a block of consistent shapes that's easier to pack tightly. For example, a row of small logos can be placed side by side with minimal spacing, while larger designs can be arranged around them.
3. Use a Nesting Software (But Verify)
Many RIP software options include automatic nesting features. These can be a huge time-saver, but they're not always perfect. Always preview the nested layout and manually adjust if you spot obvious gaps. Sometimes a simple drag-and-drop can reclaim inches of film.
Layout Strategies to Reduce Waste
Beyond nesting individual designs, the overall layout of your gangsheet plays a critical role. Here are some layout tactics that consistently yield better utilization.
Eliminate Excessive Margins
Most DTF printers require a small margin around the edges for the film to feed properly and to prevent ink from spilling over. However, that margin doesn't need to be huge. Check your printer's specifications: many can handle a 0.25-inch margin, while others might need 0.5 inch. Reducing your default margin from 1 inch to 0.5 inch on a 13x19 sheet can gain you an extra 6% of printable area.
Design for the Sheet, Not the Other Way Around
If you're creating designs from scratch, consider the gangsheet dimensions early. For instance, if you know you'll be printing on 13-inch wide rolls, design your artwork to tile efficiently across that width. A design that's 4.5 inches wide might leave awkward gaps, while a 4.25-inch design could fit three across with minimal waste.
Combine Orders Intelligently
When batching orders, look for complementary designs. If one customer orders a set of small chest logos and another orders large back prints, you can often fit the small logos into the negative space around the large prints. This is where manual nesting shines: software might not automatically see the opportunity.
Common Mistakes That Inflate Film Waste
Even experienced operators fall into traps that quietly eat into profits. Watch out for these.
- Over-spacing designs: Leaving too much gap between transfers for "easy cutting" can waste more film than the time saved. A 0.125-inch gap is usually sufficient if you have a steady hand or a cutter.
- Ignoring the roll width: Printing on a sheet that's narrower than your roll means you're not using the full width. Always orient your gangsheet to match the roll width.
- Not accounting for shrinkage: Some films shrink slightly after printing, so if you pack designs too tightly, they might overlap after curing. Always test your film's behavior.
Measuring and Improving Your Utilization Rate
You can't improve what you don't measure. Start by calculating your current utilization rate: divide the total area of your designs by the total area of the film used. For example, if you print a 13x19 sheet (247 square inches) and your designs cover 200 square inches, your utilization is 81%. Aim for 85% or higher. Keep a log for a week to establish a baseline, then implement changes and track again.
Many RIP software programs can generate a report showing the percentage of film used. If yours doesn't, a simple spreadsheet works.
Balancing Speed and Savings
Maximizing film utilization can sometimes slow down production. Manually nesting intricate designs takes time. The key is to find a balance that works for your workflow. For large orders with repetitive designs, automated nesting might be efficient enough. For custom, one-off jobs, a few minutes of manual adjustment can yield significant savings. Consider the labor cost: if you're paying someone $20/hour to nest, you need to save more than that in film to make it worthwhile.
Case Study: How One Shop Cut Film Costs by 30%
A small apparel decorator we spoke with was spending about $800/month on DTF film. After analyzing their gangsheets, they realized their average utilization was only 65%. They implemented three changes: reducing margins from 1 inch to 0.5 inch, rotating designs to fill gaps, and grouping small orders together. Within two months, their utilization climbed to 85%, and their film costs dropped to $560/month, a 30% savings. The time investment? About 15 minutes per gangsheet, which they offset by reducing other downtime.
Frequently Asked Questions
What is a good film utilization rate for DTF printing?
A utilization rate of 85% or higher is considered excellent. Most shops start around 70-75% and can improve with practice.
Can I nest designs with different orientations?
Yes, as long as the design doesn't have a fixed orientation (like text), rotating or flipping can help fill gaps.
How do I calculate utilization if my RIP software doesn't report it?
Measure the total area of your designs (width x height for each) and divide by the total film area (sheet width x height). Multiply by 100 for percentage.
Does film utilization affect transfer quality?
Not directly, but packing designs too tightly can cause ink to bleed between them if the gap is too small. Always leave at least 0.125 inch between designs.
Is it worth investing in nesting software?
If you print high volumes regularly, yes. For occasional printing, manual nesting with a good template may suffice.
By paying attention to film utilization, you turn a hidden cost into a competitive advantage. Start with small changes, measure your results, and watch your margins grow.