DTF printing explained is a versatile film-based transfer method that brings full-color designs to textiles with a soft hand and durable results. This beginner-friendly process blends digital vibrancy with practical transfer steps, making it a popular choice for garment customization. If you’re exploring DTF printing for beginners, you’ll find a clear, step-by-step flow from design to final heat press. Understanding the basics helps you select the right equipment, manage color, and predict performance across fabrics. In this intro, we’ll cover the essentials and share practical tips to improve DTF transfers for beginners.
Viewed through an indirect terminology lens, the direct-to-film technique—often described as a film transfer or digital film printing—frames the same process as a film-on-fabric workflow. The concept centers on printing color onto a PET sheet, applying a bonding powder, and then transferring the image with heat and pressure. LSI-friendly terms like film-based print transfer, white underbase, adhesive powder, and heat press parameters help capture search intent without repeating the exact phrasing. Whether you are comparing to traditional screen-printing or other garment transfers, this approach offers flexibility, strong color fidelity, and good compatibility with blends. As you explore tutorials and suppliers, look for guidance on underbase strength, powder adhesion, and curing—key factors that influence wash durability.
DTF printing explained: A beginner-friendly overview
DTF printing explained is a film-based transfer method that lets you move full-color designs onto textiles with impressive durability and a soft hand. It blends the flexibility of digital printing with the convenience of heat transfer, delivering sharp images, smooth gradients, and strong washability across a broad range of fabrics. For beginners exploring garment customization, DTF offers a forgiving workflow compared with some other methods, while still producing vibrant results on everything from cottons to blends.
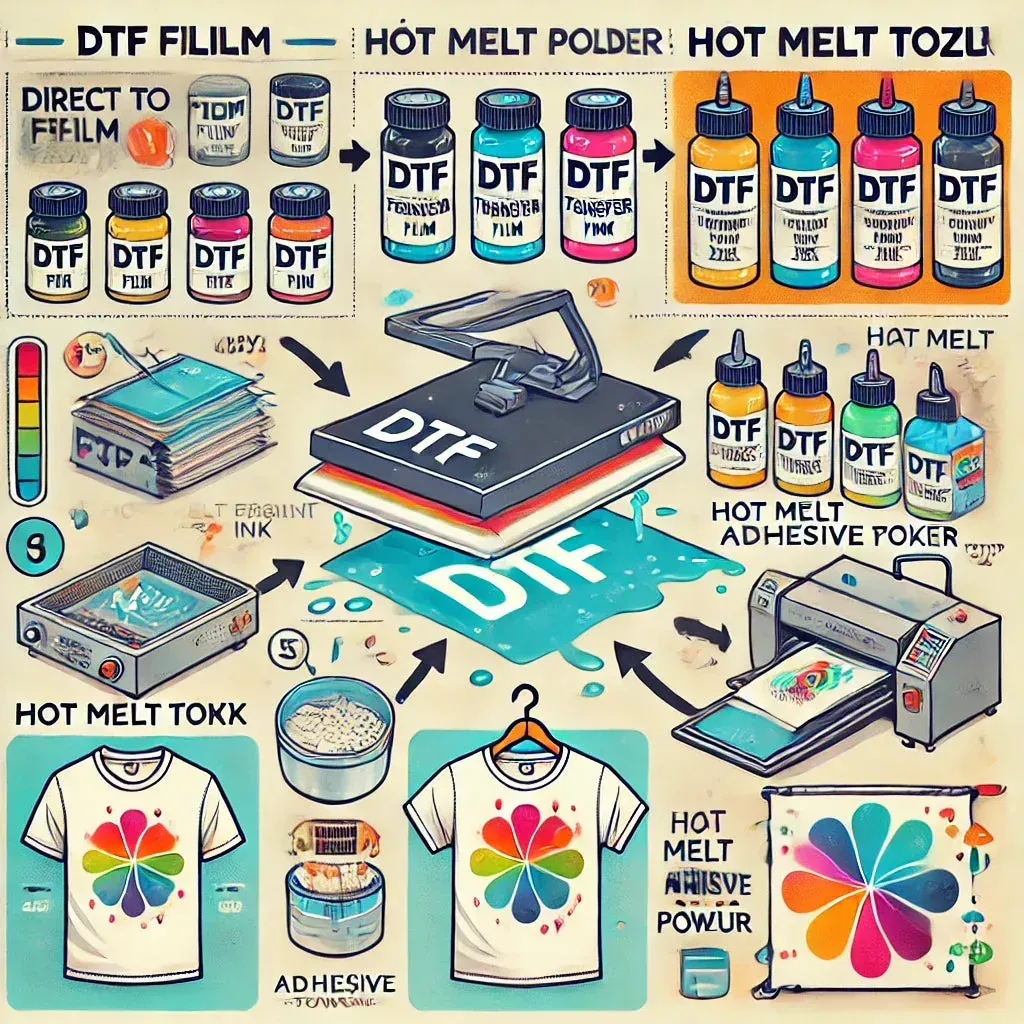
This overview highlights the core idea: you print onto a PET film using CMYK inks (and sometimes white), apply an adhesive powder, cure it, and then press the film onto fabric. The result is a bonded design that stays bright after multiple washes, with less color shift if you follow recommended settings and proper handling. If you’re just starting out, this makes DTF an appealing option for experimenting with complex, full-color artwork.
How does DTF printing work? Step-by-step essentials
If you’re curious how does DTF printing work, think of it as a seven-step workflow that starts with design and color management. Begin with a high-resolution image, set up clean edges, correct color profiles (CMYK), and use a white underbase when needed for light fabrics. In DTF printing explained terms, you’re preparing a design for a transparent PET film so accuracy in color separation matters from the start.
The process then moves through printing on the film, powder application, curing, fabric preparation, transfer with heat, and post-transfer care. Beginners learn that choosing the right printer, ink quality, and film type matters, as does managing white ink when you work on dark fabrics. Controlling time, temperature, and pressure during the transfer helps prevent scorching or incomplete adhesion, while proper curing minimizes powder shedding for reliable transfers.
DTF printing for beginners: Tools, settings, and workflows
DTF printing for beginners emphasizes building a simple, repeatable workflow. Start with a printer configured for water-based pigment inks, a stock of DTF-grade films, and a reliable white ink option if you plan to use an underbase. When selecting equipment, consider ink compatibility, color management, print resolution, maintenance needs, and the total cost per transfer to keep your early projects affordable.
A practical beginner workflow includes preparing a high-resolution design (ideally 300 dpi), calibrating color management, and running test prints to dial in contrast and color balance. After printing, apply adhesive powder evenly and cure it as directed. Pre-press the fabric to remove moisture, position the film accurately on the garment, and then transfer with the recommended temperature, time, and pressure before peeling appropriately. Ending with clear post-care instructions helps customers or future projects retain color and adhesion.
DTF transfer quality tips: achieving durable, vibrant results
DTF transfer quality tips start with thoughtful use of a white underbase. A well-sized underbase improves opacity and makes colors pop on dark fabrics, reducing issues like dull tones or color shifts. Fine-tuning ink density and color management helps maintain consistency across batches and fabrics, which is essential for scalable production.
Control the heat press carefully—temperature, pressure, and dwell time must align with your film and fabric. Poor settings can cause scorching, cracking, or incomplete transfers. Ensure proper drying and curing to minimize powder shedding, and implement post-transfer washing guidance such as turning garments inside-out and avoiding harsh detergents during the initial washes. Regular quality checks, including wipe tests and sample garments, help catch issues before you scale production.
DTF vs screen printing: choosing the right method for your project
DTF vs screen printing often comes down to run length, color complexity, and fabric variety. DTF excels at full-color designs with smooth gradients and can be more economical for small to medium runs on a wide range of fabrics, including blends and synthetics. It also requires less setup time and avoids the need for separate screens for each color, which speeds up design iteration.
In contrast, screen printing can be more cost-effective for large runs of simple designs and bold, solid colors, but it requires dedicated screens and more setup time. Evaluate the fabric type, desired color richness, and expected order size when deciding between DTF printing explained options and traditional screen printing methods. Understanding the trade-offs helps you choose the most efficient path for your project and budget.
Color management and post-transfer care for reliable DTF results
Color management is crucial for reliable DTF results. Use calibrated monitors, correct color profiles (CMYK), and consistent printer maintenance to minimize color drift across batches. If you’re aiming for guaranteed consistency, ensure your white underbase, ink density, and drying times are aligned with the film and fabric you’re using.
Post-transfer care completes the process. Provide clear washing instructions and advise customers to wash garments inside-out, use mild detergents, and avoid high heat on initial washes. Documenting successful settings for different fabrics builds a reliable standard operating procedure, helping you maintain accurate color, adhesion, and durability as you scale your DTF projects.
Frequently Asked Questions
DTF printing explained: what is it and how does it work?
DTF printing explained describes a film-based transfer method that uses CMYK inks (and sometimes white) printed onto a PET film. A hot-melt adhesive powder is applied to the wet ink, the film is cured, and then pressed onto fabric with a heat press. The result is a vibrant, durable image with a soft hand, suitable for a wide range of fabrics. This makes DTF a beginner-friendly option that combines digital color with straightforward transfer steps.
How does DTF printing work?
How does DTF printing work? It follows a step-by-step workflow: 1) design with proper color management; 2) print on a PET film (with or without a white underbase); 3) apply adhesive powder to the wet ink; 4) cure the powder; 5) prep the fabric; 6) transfer with a heat press at the recommended temperature and time; 7) post-transfer care. Each step influences color, adhesion, and durability.
DTF printing for beginners: essential gear and setup
DTF printing for beginners starts with a printer configured for water-based pigment inks (with white ink capability), DTF-grade films, and a reliable adhesive powder. You’ll also need a heat press, a drying/curing option, and software for color management. Prioritize a white underbase understanding, proper film compatibility, and a simple test workflow to dial in color and adhesion before full production.
DTF vs screen printing: which method should you choose?
DTF vs screen printing: choose based on run size, design complexity, and fabric. DTF handles full-color images with smooth gradients at lower setup cost for small runs and works well on blends and dark fabrics with a white underbase. Screen printing is cost-effective for large runs of simple designs but requires multiple screens and more setup time. Consider your fabrics, order volume, and color complexity when deciding.
DTF transfer quality tips: how to maximize opacity, color accuracy, and durability
DTF transfer quality tips include using a strong white underbase to improve opacity on dark fabrics, careful ink density and color management, and precise heat-press control (temperature, time, and pressure). Ensure proper drying/curing to prevent powder shedding, select compatible films, and perform test prints followed by quality checks to maintain consistency.
DTF printing explained: common challenges and troubleshooting
DTF printing explained often encounters issues like insufficient white underbase opacity, powder shedding, peeling or cracking after transfer, and color inconsistency. Troubleshoot by rechecking white ink saturation, ensuring full curing, calibrating the heat press, verifying film quality, and running batch tests to validate alignment and color before large production.
| Aspect | Key Point |
|---|---|
| Definition | DTF is a film-based transfer method that prints onto a PET film using CMYK inks (and sometimes white), then applies a hot-melt adhesive powder. After curing, the film is pressed onto fabric with a heat press to produce durable, vibrant designs with a soft hand on a wide range of fabrics. |
| How it works (overview) | 7-step process: design and color management; printing on film; adhesive powder application; curing; fabric preparation; transfer with heat and pressure; peel away the film and perform post-transfer care. |
| Materials & Equipment | DTF printer with white ink option; DTF-grade films; hot-melt adhesive powder; heat press; color-management tools; and routine maintenance. |
| Ink types | Most workflows use water-based pigment inks. A white underbase improves opacity on dark fabrics; ensure ink, film, powder, and heat-press settings are well matched. |
| Beginner workflow | Prepare a high-resolution design with proper color management; print with appropriate settings; apply and cure adhesive powder; pre-press fabric; transfer with correct time/temperature; remove film and perform post-care. |
| Quality tips & troubleshooting | Use white underbase thoughtfully; optimize ink density and color management; control heat press temperature, pressure, and time; ensure proper curing; follow wash guidelines; inspect for ghosting or powder residue. |
| Maintenance & costs | Regularly clean print heads; monitor inks and powders; store films away from moisture; budget for consumables (films, powders, cleaners, replacement inks) to manage cost per transfer. |
Summary
DTF printing explained reveals a versatile, beginner-friendly approach to garment customization that delivers vibrant, durable results on a wide range of fabrics. For newcomers, understanding the step-by-step process—from design to transfer—and selecting the right equipment and materials sets a solid foundation for success. By focusing on color management, precise heat-press settings, and proper post-transfer care, you can achieve consistently high-quality transfers that hold up to repeated washing. Whether you’re comparing DTF printing explained to screen printing or DTG, a thoughtful, well-informed approach will help you maximize results and build a reliable, scalable workflow.